How To Remove A Stuck Needle From A Sewing Machine
Dealing with a stuck needle in your sewing machine can be frustrating. However, removing a jammed needle is manageable if you follow the proper steps.
If you’re short on time, here’s a quick answer to your question: Carefully turn the handwheel to raise the needle, then use pliers to grip the needle and pull it free while avoiding damage to the machine.
In this comprehensive guide, we’ll walk you through the causes of stuck needles, steps to safely remove the needle, and tips for preventing future jams.
Common Causes of a Stuck Needle
Hitting a pin or thick seam
One common cause of a stuck needle in a sewing machine is when it hits a pin or a thick seam. This can happen if you accidentally forget to remove a pin while sewing or if you are sewing through multiple layers of fabric.
When the needle hits a pin or a thick seam, it can bend or break, causing it to get stuck in the machine. To avoid this issue, always make sure to remove any pins before sewing and be cautious when sewing through thick layers of fabric.
Using the wrong needle for your fabric
Using the wrong needle for your fabric can also result in a stuck needle. Different fabrics require different types and sizes of needles. For example, a heavy-duty fabric like denim requires a stronger needle, while a delicate fabric like silk requires a finer needle.
If you use the wrong needle, it may not be able to penetrate the fabric properly, causing it to get stuck. To prevent this, make sure to choose the appropriate needle for the fabric you are working with.
Not changing the needle frequently enough
Not changing the needle frequently enough can also lead to a stuck needle. Needles can become dull or damaged over time, especially if you are sewing frequently or working with tough materials. A dull needle can cause the machine to jam or the thread to break, resulting in a stuck needle.
It is recommended to change the needle after every 8-10 hours of sewing or after completing a large project. By regularly changing the needle, you can ensure smooth sewing and prevent the needle from getting stuck.
Safely Removing a Stuck Needle
Turn off and unplug the machine
When dealing with a stuck needle in a sewing machine, the first step is to ensure your safety. Turn off the machine and unplug it from the power source. This will prevent any accidental movement of the needle and reduce the risk of injury.
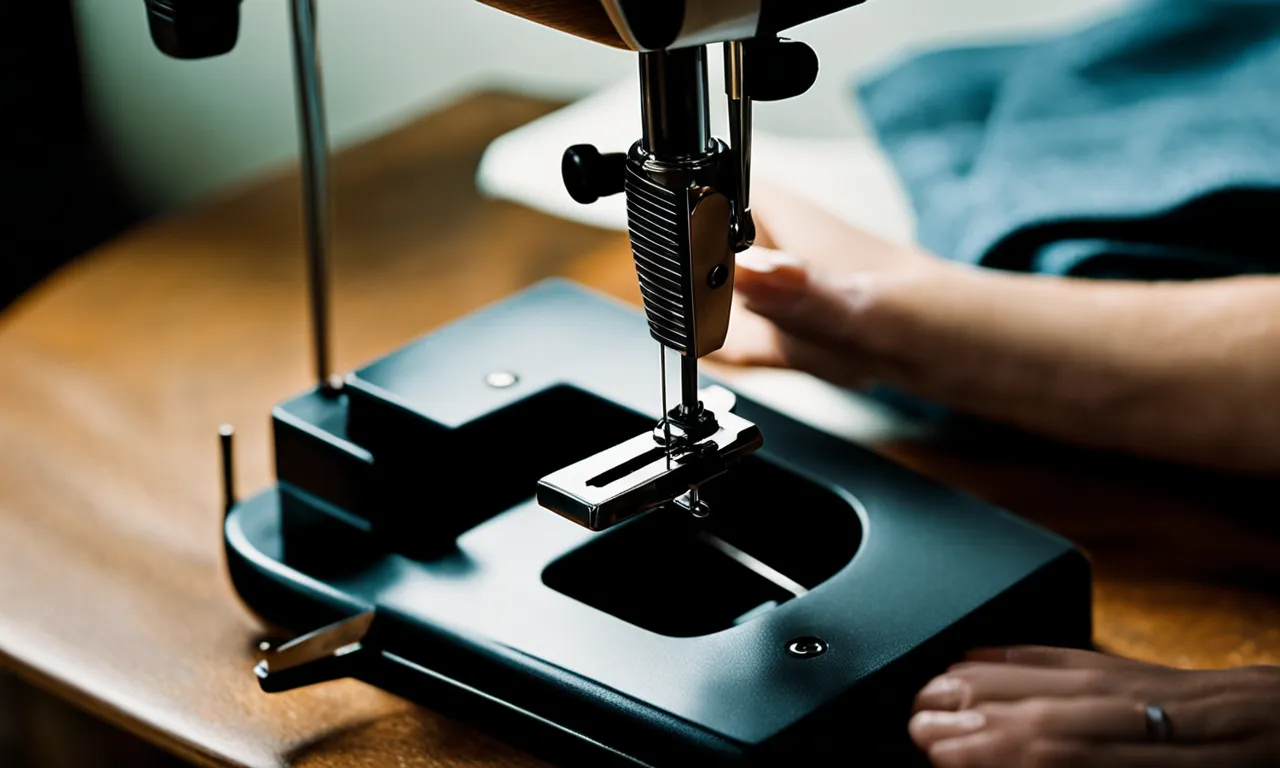
Turn the handwheel to raise the needle
Before attempting to remove the stuck needle, it is important to raise it to its highest position. This can be done by manually turning the handwheel, which is usually located on the right side of the machine. Gently rotate the handwheel towards you until the needle is in its highest position.
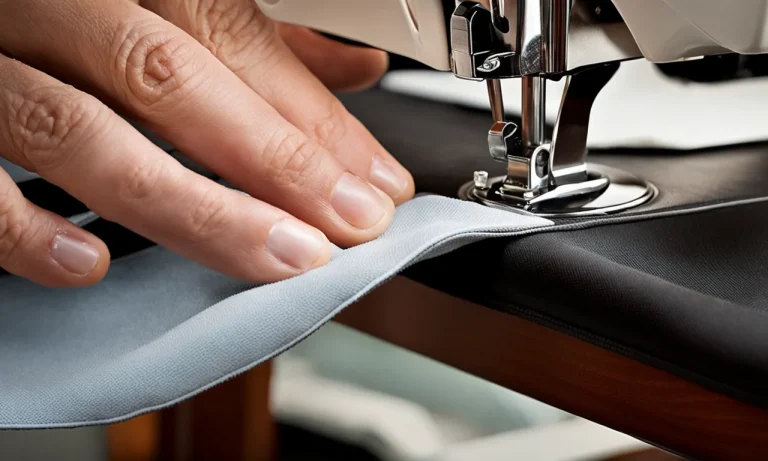
Grip needle firmly with pliers
Once the needle is raised, you can use a pair of pliers to grip the needle firmly. Make sure to use pliers that are specifically designed for sewing machine needles to avoid damaging the needle or the machine itself.
Position the pliers near the top of the needle, close to where it meets the needle clamp.
Pull needle straight up and out
With a firm grip on the needle, pull it straight up and out of the needle clamp. Apply steady and even pressure, being careful not to bend or break the needle. If the needle is still resistant, try gently wiggling it from side to side while pulling upwards.
Note: If you are unsure about removing the stuck needle yourself or if you encounter any difficulties, it is always recommended to seek professional assistance. A trained technician will have the necessary expertise to safely remove the needle without causing any damage to the machine.
Preventing Future Needle Jams
After successfully removing a stuck needle from your sewing machine, it is important to take preventive measures to avoid future needle jams. By following these simple steps, you can ensure a smooth sewing experience and save yourself from frustration.
Use the proper needle for your fabric
Using the right needle for your fabric is crucial in preventing needle jams. Different fabrics require different needle types and sizes. For example, a thicker fabric like denim may require a thicker needle, while a delicate fabric like silk may require a finer needle.
Consult your sewing machine’s manual or a reputable sewing website like sewing.com to determine the correct needle for your fabric.
Change needles frequently
Needles can become dull or bent over time, leading to needle jams. It is recommended to change your needle after every 8-10 hours of sewing, or whenever you notice any signs of wear and tear. By regularly replacing your needle, you can help prevent needle jams and achieve better stitching results.
Go slow over thick seams
When sewing over thick seams, it’s important to slow down and let your machine handle the extra layers of fabric. Forcing the fabric through the machine at high speed can cause the needle to get stuck. Take your time and allow the machine to sew at its own pace, ensuring smooth and precise stitching.
Keep machine clean and well-oiled
A clean and well-maintained sewing machine is less likely to experience needle jams. Regularly clean out any lint or debris that may accumulate in the bobbin area or around the needle. Additionally, make sure to oil your machine according to the manufacturer’s instructions to keep it running smoothly.
A well-lubricated machine will reduce friction and minimize the chances of needle jams.
By following these preventive measures, you can significantly reduce the risk of needle jams and enjoy a hassle-free sewing experience. Remember to always prioritize safety and consult your sewing machine’s manual for specific maintenance guidelines.
Conclusion
Getting a needle stuck in your sewing machine can be annoying, but with the right technique you can remove it safely. Always turn off the machine first, then grip the needle firmly with pliers as you pull straight up.
Prevent future jams by using the appropriate needles, changing them often, sewing carefully over thick areas, and keeping your machine properly maintained.