How To Attach Velcro To Fabric: A Step-By-Step Guide
Attaching velcro to fabric can seem intimidating, but it’s actually a simple process that anyone can do with just a few supplies. Whether you’re making custom clothes, crafting velcro accessories, or attaching velcro closures to upholstery, this comprehensive guide will walk you through every step of attaching velcro to fabric securely.
If you’re short on time, here’s a quick answer to your question: To attach velcro to fabric, first cut your velcro to size. Apply fabric glue to the rough side of the velcro, then press it firmly onto the fabric. Let it dry completely before use.
For the best hold, sew around the edges of the velcro as well.
Gather Your Materials
Velcro strips
Before you can attach Velcro to fabric, you’ll need to gather all the necessary materials. First and foremost, you’ll need Velcro strips. Velcro is a hook-and-loop fastening system that consists of two components: the hook side and the loop side.
The hook side features tiny hooks that interlock with the loops on the loop side, creating a secure bond. Velcro can be purchased in various lengths and widths, so choose the size that best suits your project.
Fabric glue or hot glue gun
Next, you’ll need fabric glue or a hot glue gun. Fabric glue is a specially formulated adhesive that is designed to bond fabric together. It provides a strong and durable bond that is resistant to washing and dry cleaning.
A hot glue gun, on the other hand, melts sticks of glue and dispenses them onto the fabric. It dries quickly and forms a strong bond. Choose the adhesive that works best for your project and ensure that it is compatible with the fabric you’re working with.
Fabric scissors
To achieve a clean and precise cut, you’ll need a pair of fabric scissors. Fabric scissors are specifically designed to cut through fabric without fraying or damaging the fibers. Using regular scissors or dull blades may result in jagged edges or uneven cuts, compromising the overall quality of your project.
Invest in a good pair of fabric scissors to ensure professional-looking results.
Sewing needle and thread (optional)
If you prefer a more traditional approach, you can use a sewing needle and thread to attach the Velcro to your fabric. This method allows for a more secure and permanent bond. Using a strong thread that matches the color of your fabric, sew through the holes or slits on the Velcro strips and the fabric, creating a tight stitch.
This method is especially useful for heavy-duty fabrics or items that will be subjected to a lot of wear and tear.
Protective surface (optional)
Lastly, consider using a protective surface to work on. This can be a cutting mat, a piece of cardboard, or a spare piece of fabric. Using a protective surface will prevent any accidental glue spills or damage to your work surface. It’s always better to be safe than sorry!
Now that you have gathered all the necessary materials, you’re ready to move on to the next step in attaching Velcro to fabric.
Prepare the Velcro
Cut Velcro to Size
Before attaching Velcro to fabric, it is important to cut it to the desired size. Measure the area on the fabric where you want to attach the Velcro and use a pair of sharp scissors to cut the Velcro strip accordingly.
Make sure to cut both the hook (rough) side and the loop (soft) side of the Velcro to the same length.
Roughen Smooth Side (if needed)
In some cases, the smooth side of the Velcro may need to be roughened to ensure a stronger bond. If you find that the smooth side of the Velcro is not adhering well to the fabric, you can use sandpaper or a nail file to gently roughen the surface.
This will create more friction and improve the grip of the Velcro. Remember to be gentle while roughening the surface to avoid damaging the fabric.
It is always a good idea to test the Velcro on a small, inconspicuous area of the fabric before attaching it to the main surface. This will allow you to check the adhesion strength and make any necessary adjustments before proceeding with the full attachment.
For more detailed instructions on attaching Velcro to fabric, you can visit The Spruce Crafts, a trusted source for DIY projects and crafting tips.
Attach the Velcro
Apply fabric glue to rough side
To attach Velcro to fabric, start by applying fabric glue to the rough side of the Velcro. This side is usually made up of tiny hooks that will securely fasten to the fabric. Apply the glue evenly, making sure to cover the entire rough side of the Velcro.
This will ensure a strong bond between the Velcro and the fabric.
Press Velcro onto fabric
After applying the fabric glue, carefully press the Velcro onto the fabric. Make sure to align the Velcro properly, ensuring that both pieces will meet and attach correctly. Apply firm pressure to ensure a good bond between the Velcro and the fabric.
Let dry completely
After attaching the Velcro to the fabric, it is important to let it dry completely. This will ensure that the fabric glue has enough time to set and create a strong bond. Follow the instructions on the fabric glue packaging for the recommended drying time.
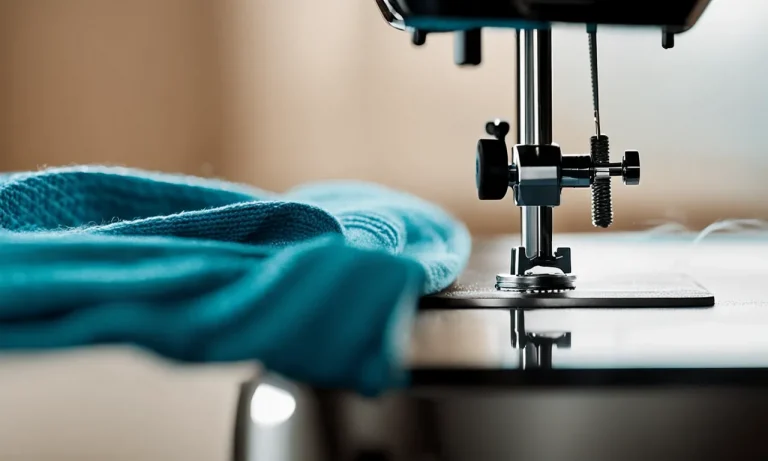
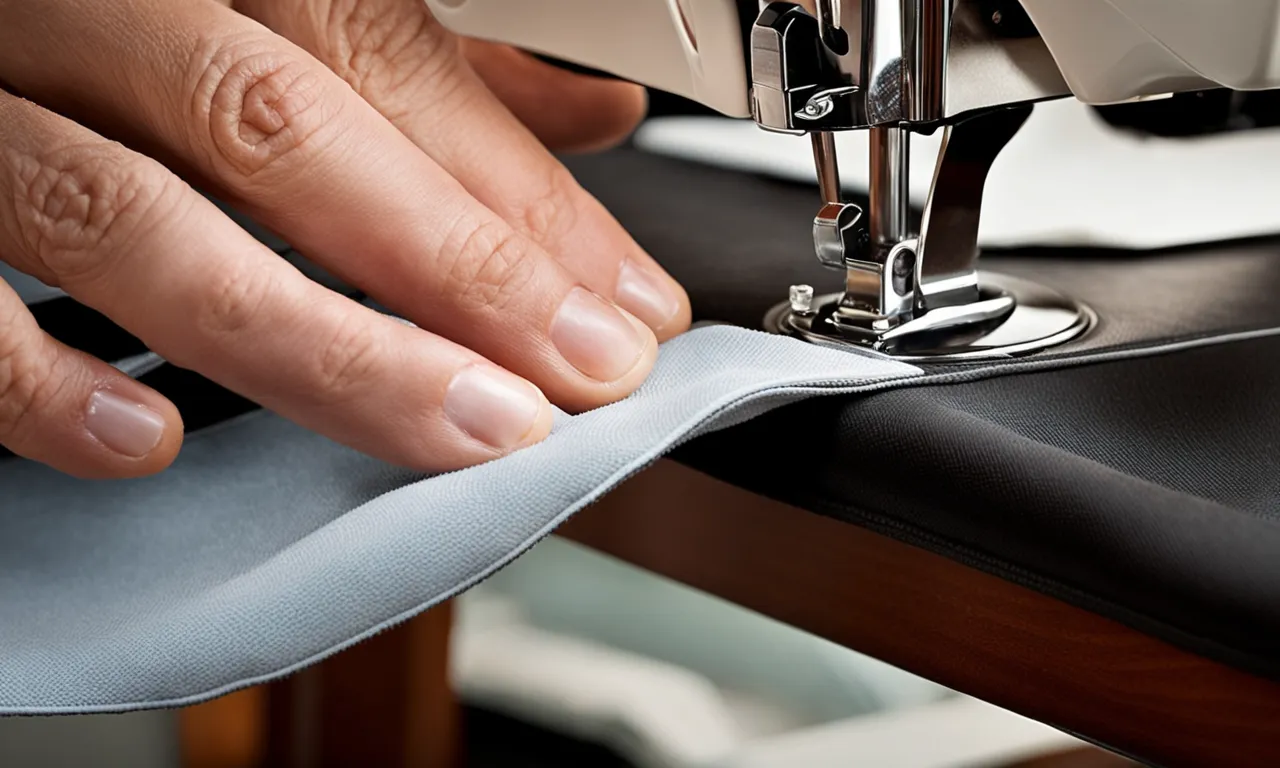
Sew around edges (optional but recommended)
While attaching Velcro with fabric glue can provide a strong bond, it is also recommended to sew around the edges for added durability. Sewing will reinforce the attachment and make it more resistant to wear and tear.
Use a strong thread and a sewing machine or a needle and thread to sew around the edges of the Velcro. This step is optional, but it is highly recommended for long-lasting results.
By following these steps, you can easily attach Velcro to fabric and create a secure closure for various projects. Whether you are working on clothing, bags, or other items, Velcro provides a convenient and reliable fastening solution.
Remember to choose the right type and size of Velcro for your project, and always follow the manufacturer’s instructions for best results. 😊
For more detailed instructions and visual guides, you can visit websites like wikiHow.com or YouTube.com where you can find helpful tutorials on attaching Velcro to fabric.
Tips for the Best Hold
When it comes to attaching Velcro to fabric, there are a few tips that can help ensure you achieve the best hold possible. Whether you’re working on a DIY project or repairing a garment, these tips will make the process easier and more effective.
Use fabric glue over hot glue
While hot glue can be a convenient option for attaching Velcro to fabric, it may not provide the strongest hold. Fabric glue, on the other hand, is designed specifically for bonding fabric and can provide a more durable and long-lasting attachment.
Using fabric glue will help ensure your Velcro stays securely in place, even with frequent use.
Sewing provides strongest hold
If you’re looking for the strongest hold possible, sewing is the way to go. While it may require more time and skill, sewing Velcro onto fabric creates a bond that is difficult to break. This is especially important for items that will be subjected to a lot of stress or heavy use, such as backpacks or jackets.
Sewing also allows for more flexibility in terms of where you can attach the Velcro, as it can be sewn onto curved or uneven surfaces.
Wash velcro gently by hand
When it comes time to clean your fabric with attached Velcro, it’s important to do so gently to avoid damaging the Velcro or the fabric. Hand washing is often the best option, as it allows you to control the pressure and avoid any rough agitation that could cause the Velcro to come loose.
Use a mild detergent and lukewarm water, and be sure to rinse thoroughly to remove any soap residue that could affect the Velcro’s adhesive properties. Avoid using bleach or harsh chemicals, as they can also weaken the adhesive.
Consider reinforcements for heavy use
If you anticipate that the fabric with attached Velcro will be subjected to heavy use or significant stress, it may be worth considering reinforcements. This can include adding extra stitches when sewing, using additional fabric glue, or even applying a patch of fabric over the area to provide extra durability.
Reinforcements can help extend the lifespan of the Velcro attachment and ensure it stays securely in place, even with repeated use.
By following these tips, you can ensure that your Velcro stays securely attached to fabric, whether you’re working on a craft project or repairing a favorite item of clothing. Remember to choose the right adhesive method for your needs, and take care when cleaning and maintaining your fabric with attached Velcro.
With a little extra attention and care, your Velcro attachments will stand the test of time.
Velcro Alternatives
While Velcro is a popular and convenient option for attaching fabric, there are several alternatives that you can consider depending on your needs and preferences. Here are some of the most commonly used alternatives:
Snaps
Snaps are a great alternative to Velcro as they provide a secure closure that is also easy to use. Snaps are typically made of metal or plastic and consist of two parts: a socket and a stud. To fasten the fabric, you simply align the socket and stud and press them together until they snap into place.
Snaps are commonly used in clothing, bags, and other accessories.
Buttons
Buttons have been used for centuries as a way to fasten fabric. They come in various shapes, sizes, and materials, allowing for endless design possibilities. To attach a button, you will need to create a buttonhole on one piece of fabric and sew the button onto the other piece.
Buttons are not only functional but can also add a decorative touch to your project.
Zippers
Zippers are another popular alternative to Velcro, especially for garments such as pants, skirts, and jackets. They provide a secure closure and are available in different lengths and styles. Zippers consist of two strips of fabric with interlocking metal or plastic teeth.
To attach a zipper, you will need to sew it onto the fabric using a zipper foot on your sewing machine.
Hook and eye tape
Hook and eye tape is a versatile alternative that is commonly used in lingerie, corsets, and other garments that require a discreet closure. The tape consists of small hooks on one side and corresponding loops on the other side.
To attach the tape, you simply sew one side onto the fabric and overlap it with the other side, allowing the hooks to catch onto the loops.
Magnets
Magnets can be a unique and innovative alternative to Velcro. They provide a strong closure and are often used in bags, purses, and jackets. Magnets come in various shapes and strengths, allowing you to choose the right one for your project.
To attach magnets, you will need to sew them into small fabric pockets or use adhesive to secure them in place.
Remember, the choice of alternative will depend on the specific requirements of your project. It’s always a good idea to test different options and consider factors such as durability, ease of use, and aesthetic appeal. Happy crafting!
Conclusion
Attaching velcro to fabric is an easy DIY project with the right supplies and techniques. By following this step-by-step guide, you can securely adhere velcro to fabric for a variety of uses. Just cut the velcro to size, glue the rough side to the fabric, let it dry fully, and consider sewing the edges as well.
With the strength and convenience of velcro, you’ll find endless creative uses for velcro closures on your crafts, clothes, accessories and more.