How To Make Tassels Out Of Yarn: A Step-By-Step Guide
Are you looking to add some fringed flair to a DIY home decor project or clothing item? Making tassels out of yarn is an easy, fun way to create a decorative touch. If you’re short on time, here’s a quick answer to your question: wrap yarn around a cardboard rectangle, tie it off in the middle, cut the loops, and fluff out the tassel.
But if you want the full scoop on crafting perfect yarn tassels from start to finish, you’re in the right place.
In this comprehensive guide, we’ll walk through everything you need to know about making tassels out of yarn. You’ll learn how to choose the right yarn and tools, make tassels in different sizes and shapes, attach them securely, and care for them properly.
We’ll also provide plenty of tips and tricks for customizing your tassels to suit any project.
By the end of this tutorial, you’ll be a pro at crafting beautiful yarn tassels with confidence. So grab your favorite yarn and let’s get started!
Choosing the Right Yarn for Tassels
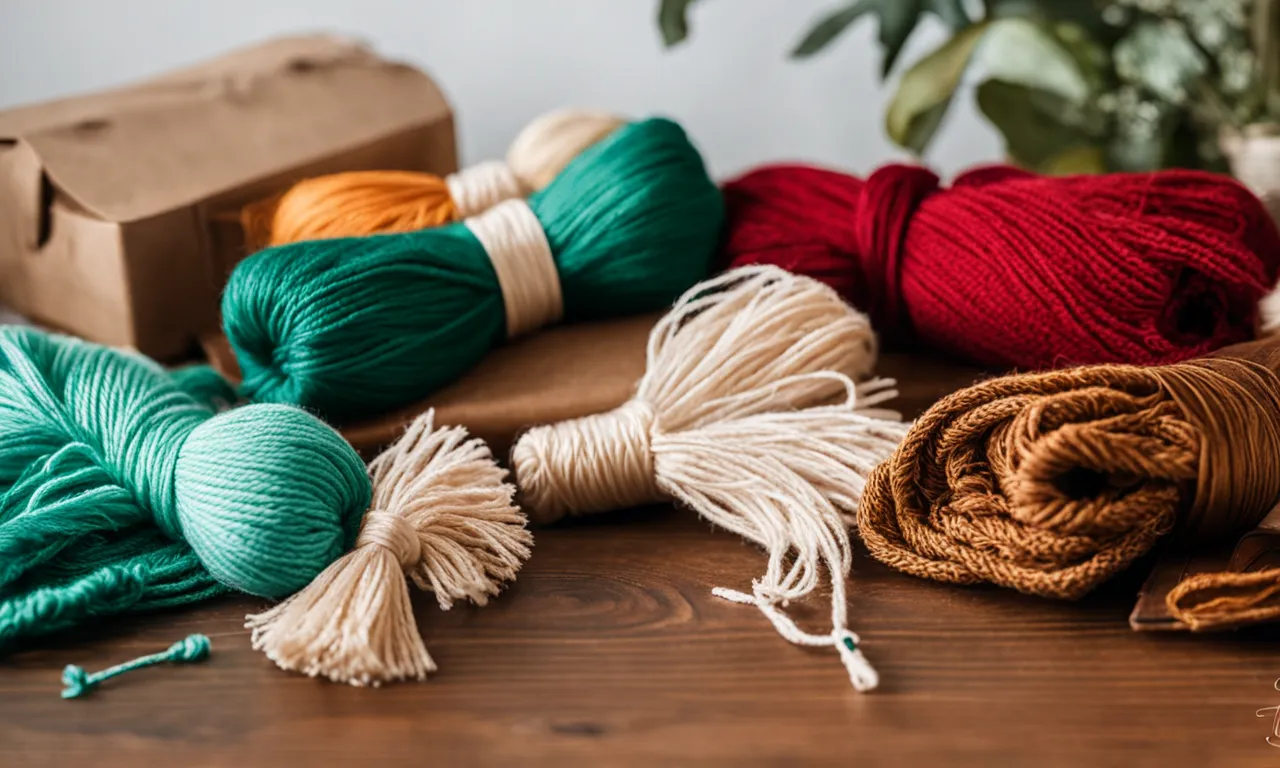
When it comes to making tassels out of yarn, selecting the right type of yarn is crucial for achieving the desired results. Here are some tips to help you choose the perfect yarn for your tassels:
Opt for a lightweight, pliable yarn
For tassels that have a beautiful drape and movement, it’s best to use a lightweight and pliable yarn. This type of yarn will allow the tassels to hang naturally and create an attractive visual appeal. Avoid using bulky or stiff yarns, as they may make the tassels look bulky and less flowy.
Consider fiber types like cotton, wool, acrylic, etc.
There are various fiber types available for yarn, each with its own unique characteristics. Cotton yarn is a popular choice for tassels as it is soft, durable, and has a natural sheen. Wool yarn can add warmth and texture to your tassels, while acrylic yarn is a budget-friendly option that comes in a wide range of colors.
Consider the look and feel you want to achieve for your tassels and choose a yarn fiber that aligns with your preferences.
Match yarn weight and fiber to your project
It’s important to select a yarn weight and fiber that complements your project. If you’re making tassels for a delicate accessory like a necklace or earrings, opt for a fine or lace-weight yarn. For larger tassels that will be used as decorative elements on home decor items or garments, a medium or bulky weight yarn would be more suitable.
Additionally, take into account the color and texture of your project and choose a yarn that will enhance its overall aesthetic.
When choosing yarn for your tassels, it can be helpful to browse online yarn stores or visit local yarn shops to see the options available. Don’t be afraid to touch and feel the yarn to get a sense of its texture and weight.
Remember, the right yarn can make a significant difference in the final look and feel of your tassels.
Gathering the Necessary Tools
Before you dive into making tassels out of yarn, it’s important to gather all the necessary tools and materials. Here’s a list of items you’ll need:
Cardboard or sturdy cardboard rectangles
You’ll need a piece of cardboard or sturdy cardboard rectangles to create the foundation for your tassel. The size of the cardboard will determine the length of your tassel. If you want a longer tassel, use a larger piece of cardboard.
Scissors
Sharp scissors are essential for cutting the yarn and trimming the tassel to the desired length. Make sure your scissors are sharp to ensure clean cuts and prevent fraying of the yarn.
Ruler or tape measure
A ruler or tape measure will come in handy for measuring the length of the yarn and ensuring consistency in the size of your tassels. This is especially useful if you’re creating multiple tassels for a project.
Yarn/embroidery needle
Of course, you’ll need yarn to create your tassels. Choose a yarn color that complements your project or opt for a contrasting color to add a pop of color. An embroidery needle will be handy for attaching the tassel to your project if needed.
Optional: Pliers, craft glue, decorative threads or beads
Depending on your preference and the style you want to achieve, you may want to have some optional tools and materials on hand. Pliers can be useful for adding decorative elements such as beads or threads to your tassels. Craft glue can help secure any additional decorations in place.
Now that you have all the necessary tools and materials, you’re ready to start making your tassels! Let’s move on to the next step.
Making Basic Yarn Tassels
Cut cardboard to desired tassel size
To start making basic yarn tassels, the first step is to cut a piece of cardboard to the desired size of your tassel. You can use any type of cardboard, such as a cereal box or a piece of cardstock. The size of the cardboard will determine the length of your tassel, so make sure to choose a size that suits your needs.
Wrap yarn around cardboard lengthwise
Once you have your cardboard cut to the desired size, take your yarn and start wrapping it around the cardboard lengthwise. The number of times you wrap the yarn around will depend on how full you want your tassel to be.
For a thicker tassel, wrap the yarn more times, and for a thinner tassel, wrap it fewer times.
Thread yarn end through top of loops
After you have wrapped the yarn around the cardboard, take one end of the yarn and thread it through the top of the loops you have created. This will create a loop at the top of your tassel, which will be used to attach it to your project or to hang it as a decoration.
Tie yarn tightly around middle
Next, take another piece of yarn and tie it tightly around the middle of the loops. This will secure the loops together and create the distinct “head” of the tassel. Make sure to tie the yarn tightly to ensure that the tassel does not come undone.
Trim bottom loops
Once you have tied the yarn around the middle, take a pair of sharp scissors and cut through the bottom loops of the tassel. This will create the fringe-like appearance of the tassel. Be careful not to cut the yarn used to tie the tassel together.
Fluff and shape tassel
Finally, give your tassel a gentle shake to fluff up the yarn and shape it. Use your fingers to separate the strands and create a fuller and more even look. You can also trim any uneven strands to make the tassel look neater.
Once you are satisfied with the shape and appearance of your tassel, it is ready to be used or displayed!
Customizing Size, Shape, and Style
When it comes to making tassels out of yarn, the possibilities are endless. You can customize the size, shape, and style of your tassels to suit your creative vision. Here are a few ideas to get you started:
Make mini tassels with a single yarn strand
If you want to create delicate and dainty tassels, try using a single strand of yarn. Simply wrap the yarn around a small object, such as a pencil or a fork, and then tie a separate piece of yarn around the top to secure the loops. Trim the bottom to your desired length, and voila!
You have a mini tassel that’s perfect for jewelry making or adding a touch of charm to your craft projects.
Create large tassels on wider cardboard
For a bolder and more substantial tassel, use a wider piece of cardboard as your wrapping tool. This will allow you to create thicker and longer tassels. Wrap the yarn around the cardboard multiple times to achieve the desired fullness.
Once you’ve finished wrapping, tie a piece of yarn around the top and cut through the loops at the bottom. You can then fluff and shape the tassel to your liking.
Try oval, square, or circular cardboards
While most tassels are made using rectangular cardboard, you can experiment with different shapes to create unique tassel designs. Oval, square, or circular cardboards can give your tassels a distinct look.
Simply follow the same wrapping and cutting process using the alternative shape of your choice. Don’t be afraid to think outside the box and let your creativity shine!
Add specialty yarns, threads, and embellishments
To make your tassels stand out even more, consider using specialty yarns, threads, and embellishments. Incorporate metallic or sparkly yarns for a touch of glamour, or add beads, sequins, or ribbons for extra flair. These additional elements can elevate your tassels and make them truly one-of-a-kind.
Combine multiple yarn colors and textures
For a vibrant and visually interesting tassel, mix and match different colors and textures of yarn. Use complementary or contrasting hues to create a striking effect. You can also experiment with combining different yarn weights and textures, such as using a chunky yarn alongside a finer one.
The possibilities are endless, so don’t be afraid to play with color and texture combinations!
Remember, the key to customizing your tassels is to have fun and let your creativity guide you. There are no hard and fast rules when it comes to making tassels out of yarn, so feel free to experiment and see what works best for you. Happy tassel-making!
Attaching Tassels Securely
When it comes to attaching tassels to your project, it’s important to ensure they are securely fastened. Here are a few methods you can use:
Tie or sew tassel onto item directly
One of the most common ways to attach a tassel is by tying or sewing it directly onto the item. This method works well for items like scarves, blankets, or curtains. Simply thread a needle with a matching yarn or thread, and carefully sew or tie the tassel onto the edge of your item.
Make sure to secure it tightly to prevent it from coming loose.
Attach a charm, keychain ring, or clasp
If you want to add a bit of versatility to your tassel, consider attaching a charm, keychain ring, or clasp. This allows you to easily remove or interchange the tassel whenever you desire. You can use a jump ring or a small piece of yarn to attach the tassel to the charm or clasp.
This method works well for items like bags, keychains, or jewelry.
Consider sturdy glues for permanent bonds
For a more permanent attachment, you can use sturdy glues that are suitable for fabric or yarn. Make sure to choose a glue that is specifically designed for the materials you are working with. Apply a small amount of glue to the tassel and press it firmly onto your item.
Allow it to dry completely before handling. This method is great for items that won’t be washed or handled frequently.
Reinforce attachment points for extra hold
If you want to ensure that your tassel stays in place, consider reinforcing the attachment points. For example, if you’re attaching a tassel to a bag, you can reinforce the area by sewing a small patch of fabric or adding a layer of interfacing behind the attachment point.
This will provide extra stability and prevent the tassel from pulling or tearing away.
Remember, the method you choose will depend on the item you’re working with and the level of permanence you desire. Experiment with different techniques to find the one that works best for your project.
Caring for Yarn Tassels
Once you have created beautiful tassels out of yarn, it’s important to take care of them to ensure their longevity. Here are some tips to help you keep your yarn tassels looking their best:
Avoid vigorous brushing or rubbing
Yarn tassels are delicate and can easily become frayed or damaged if subjected to vigorous brushing or rubbing. It’s best to handle them with care and avoid any rough treatment that could cause them to unravel.
Instead, gently fluff the tassels with your fingers to maintain their shape and appearance.
Spot clean with mild soap and water
If your yarn tassels get dirty, you can spot clean them using mild soap and water. Gently dab the soiled area with a soft cloth or sponge, being careful not to saturate the yarn. Allow the tassels to air dry completely before touching or styling them to prevent any damage.
Consider a fabric sealant spray for added protection
If you want to provide extra protection for your yarn tassels, you can consider using a fabric sealant spray. This spray creates a barrier that helps repel dirt and liquids, keeping your tassels cleaner for longer.
Be sure to follow the instructions on the spray bottle and test it on a small, inconspicuous area of the tassels before applying it to the entire tassel.
Store flat or loosely hanging to prevent crushing
To prevent your yarn tassels from getting crushed or distorted, it’s best to store them flat or loosely hanging. Avoid folding or creasing the tassels, as this can ruin their shape. If you’re storing them in a drawer or container, place a piece of tissue paper or soft cloth between each tassel to provide some cushioning and prevent them from rubbing against each other.
By following these simple care tips, you can ensure that your yarn tassels remain in great condition and continue to add a touch of charm to your projects.
Conclusion
Yarn tassels are a fun, easy DIY project for crafters of all skill levels. With the techniques covered in this guide, you can make customized tassels to suit any decor or fashion need. Start with high-quality yarns, sturdy cardboards, and sharp scissors for best results.
Remember to fluff and shape your tassels after trimming, and reinforce attachments so they hold strong. Your creative yarn tassels will add a playful pop of texture and color to home accents, clothing, accessories, and more. Happy crafting!