How To Replace The Needle On A Crosley Record Player
If you’ve noticed that your Crosley record player is starting to skip or sound distorted when playing your favorite vinyl records, it’s likely time to replace the needle. Replacing a worn needle on a Crosley turntable is a relatively easy process that will help restore audio quality and prolong the life of your records.
Here is a comprehensive guide with step-by-step instructions for replacing the needle on any model of Crosley record player.
Things You’ll Need
Replacement Needle
Replacing the needle on a Crosley record player is a relatively simple process, but it does require a few tools. First and foremost, you’ll need a replacement needle. The type of needle you need will depend on the model of your Crosley record player, so be sure to check the manufacturer’s specifications or consult the user manual.
It’s important to use the correct needle for your record player to ensure proper sound quality and prevent damage to your records.
Phillips Head Screwdriver
In order to access the needle on your Crosley record player, you’ll need a Phillips head screwdriver. This tool is commonly used for removing screws that hold the cartridge and needle in place. It’s a good idea to have a few different sizes of Phillips head screwdrivers on hand, as the size of the screws may vary depending on the model of your record player.
Needle Remover Tool (Optional)
A needle remover tool is a handy device that can make the process of replacing the needle on your Crosley record player even easier. This tool is designed to safely and easily remove the old needle from the cartridge without causing any damage.
While not essential, a needle remover tool can be a worthwhile investment if you plan on replacing the needle on your record player frequently.
Once you have these tools ready, you’ll be well-equipped to replace the needle on your Crosley record player and continue enjoying your vinyl collection!
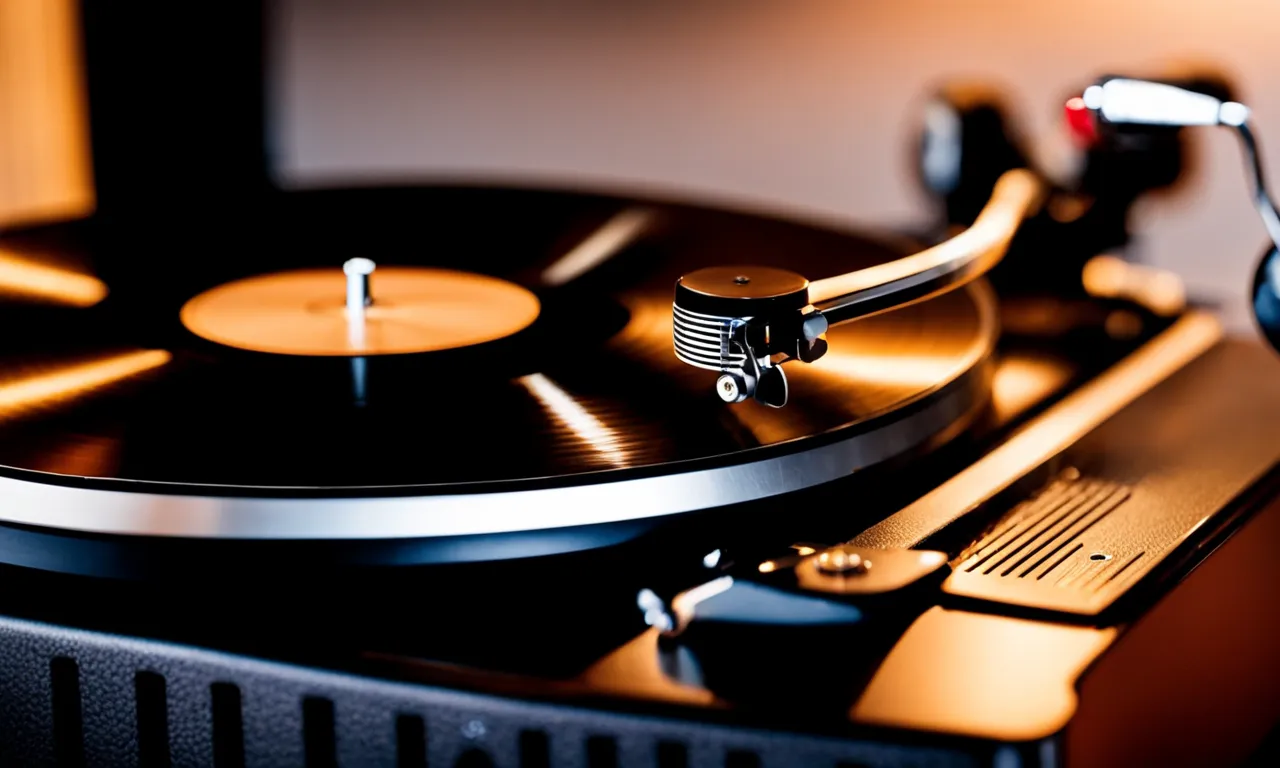
How to Remove the Old Needle
Replacing the needle on a Crosley record player is a relatively simple process that can greatly improve the sound quality of your vinyl collection. Here are the steps to follow:
Lift the Tonearm and Lock It in Place
The first step is to lift the tonearm, which is the part of the record player that holds the needle. Gently lift the tonearm and move it towards the center of the turntable. Once in the center, you can lock it in place to prevent any accidental damage.
This can usually be done by lifting a small lever or sliding a button.
Unscrew and Remove the Headshell
The next step is to unscrew and remove the headshell, which is the part that holds the needle cartridge. Look for the screws or clips that attach the headshell to the tonearm. Carefully remove them and set them aside in a safe place.
Once the headshell is detached, you will have better access to the needle.
Use a Needle Remover Tool (Optional)
If your record player came with a needle remover tool, you can use it to safely remove the old needle. This tool is designed to grip the needle and allow for easy removal without causing any damage. Simply follow the instructions that came with the tool to safely remove the old needle.
Gently Pull the Needle Out by Hand
If you don’t have a needle remover tool, you can gently pull the old needle out by hand. Make sure to hold the tonearm steady with one hand while using the other hand to grip the needle. Apply gentle pressure and pull the needle straight out.
Be careful not to bend or damage the needle during this process.
Once the old needle has been removed, you can proceed with installing the new needle. Make sure to refer to the manufacturer’s instructions or consult a professional if you’re unsure about the specific needle replacement process for your Crosley record player.
How to Install the New Needle
Replacing the needle on a Crosley record player is a simple process that can greatly improve the sound quality of your vinyl records. Here are the steps to install the new needle:
Carefully Unpack the New Needle
Before you begin, make sure you have the correct replacement needle for your specific model of Crosley record player. Carefully unpack the new needle, being mindful not to touch the delicate tip. Contaminants from your fingers can affect the performance and lifespan of the needle.
Line Up the Needle and Insert Gently
Once you have unpacked the new needle, locate the cartridge on your Crosley record player. The cartridge is the component that holds the needle. Line up the new needle with the cartridge and gently insert it into the designated slot.
Be careful not to apply too much pressure, as this can damage the needle or cartridge.
Secure the Headshell
After inserting the new needle, you will need to secure the headshell. The headshell is the part that holds the cartridge in place. Use the provided screws or clips to fasten the headshell tightly, ensuring that the needle is properly aligned and secured.
Balance the Tonearm
Once the headshell is securely fastened, it’s important to balance the tonearm. The tonearm is the long arm that holds the cartridge and needle. A properly balanced tonearm ensures optimal performance and prevents excessive wear on your records.
To balance the tonearm, refer to your Crosley record player’s user manual for specific instructions. Typically, there will be a counterweight near the base of the tonearm. Adjust the counterweight until the tonearm floats parallel to the surface of your record player.
This will ensure that the needle applies the correct tracking force to your records.
By following these steps, you can successfully install a new needle on your Crosley record player. Remember to handle the needle with care and consult the user manual for any model-specific instructions. Enjoy your improved sound quality and happy listening!
Adjust the Tracking Force
One important step in replacing the needle on a Crosley record player is adjusting the tracking force. This ensures that the needle is applying the correct amount of pressure on the record, allowing for optimal sound quality and preventing unnecessary wear and tear on your vinyl collection.
Here are some steps to help you adjust the tracking force:
Consult the Owner’s Manual
The first thing you should do is consult the owner’s manual for your specific Crosley record player. The manual will provide you with detailed instructions on how to adjust the tracking force and other important settings.
If you don’t have the manual, you can often find it online on the manufacturer’s website or through a quick internet search. Remember, each model may have slightly different instructions, so it’s important to have the correct manual for your specific record player.
Turn the Dial on the Tonearm
Once you have the manual handy, locate the dial or counterweight on the tonearm of your Crosley record player. This dial is used to adjust the tracking force. Turn the dial either clockwise or counterclockwise to increase or decrease the tracking force, respectively.
It’s important to make small adjustments at a time, as drastic changes can negatively impact the sound quality and potentially damage your records.
Test the Tracking Force with a Scale
To ensure that you have adjusted the tracking force correctly, you can use a scale designed for measuring tracking force. These scales are specifically made for turntables and provide accurate readings. Place the scale on the turntable platter and gently lower the tonearm onto the scale.
The scale will display the tracking force applied by the needle. Compare this reading with the recommended tracking force range specified in your Crosley record player’s manual. If the tracking force is within the recommended range, you have successfully adjusted it.
Remember, adjusting the tracking force is an important step in maintaining the quality of your vinyl records and prolonging the life of your needle. If you are unsure about any step or encounter any difficulties, it’s always a good idea to seek assistance from a professional or consult the manufacturer’s website for further guidance.
Happy listening!
Play a Test Record
After successfully replacing the needle on your Crosley record player, it’s time to play a test record to ensure everything is working correctly. Playing a test record allows you to check the sound quality, volume, and overall performance of your record player. Here’s how you can do it:
1. Choose a Test Record
There are various test records available that are specifically designed to help you evaluate the performance of your record player. Look for a test record that suits your needs and preferences. Some popular options include:
- Hi-Fi Test Records: These records are designed to test the overall sound quality, frequency response, and channel balance of your record player.
- Stylus Tracking Force Gauge Records: These records help you calibrate the tracking force of your needle, ensuring optimal playback performance.
- Channel Identification Records: These records help you identify any issues with left and right channel separation on your record player.
2. Set Up Your Record Player
Place the test record on your turntable and make sure it’s properly centered. Ensure that your record player is set to the correct speed (33 1/3 RPM for most records) and that the tonearm is in the correct position.
3. Listen and Evaluate
Start playing the test record and listen carefully to the sound quality. Pay attention to any distortion, skipping, or other issues that may arise. Use your ears to evaluate the overall performance of your record player.
If you notice any issues, it may be necessary to make further adjustments or seek professional help. However, if everything sounds great, you can now enjoy your favorite records with confidence knowing that your needle replacement was successful!
For more information and detailed instructions, you can visit trusted audio equipment websites such as Audio Advice or Crutchfield.
Conclusion
Replacing the needle on your Crosley turntable is a quick and easy process that will extend the life of your vinyl collection. With some basic tools and a few careful steps, you can have your record player sounding crisp and clear again in no time.
Just be gentle when handling the new needle, balance the tonearm properly, and adjust the tracking force as needed. Happy spinning!