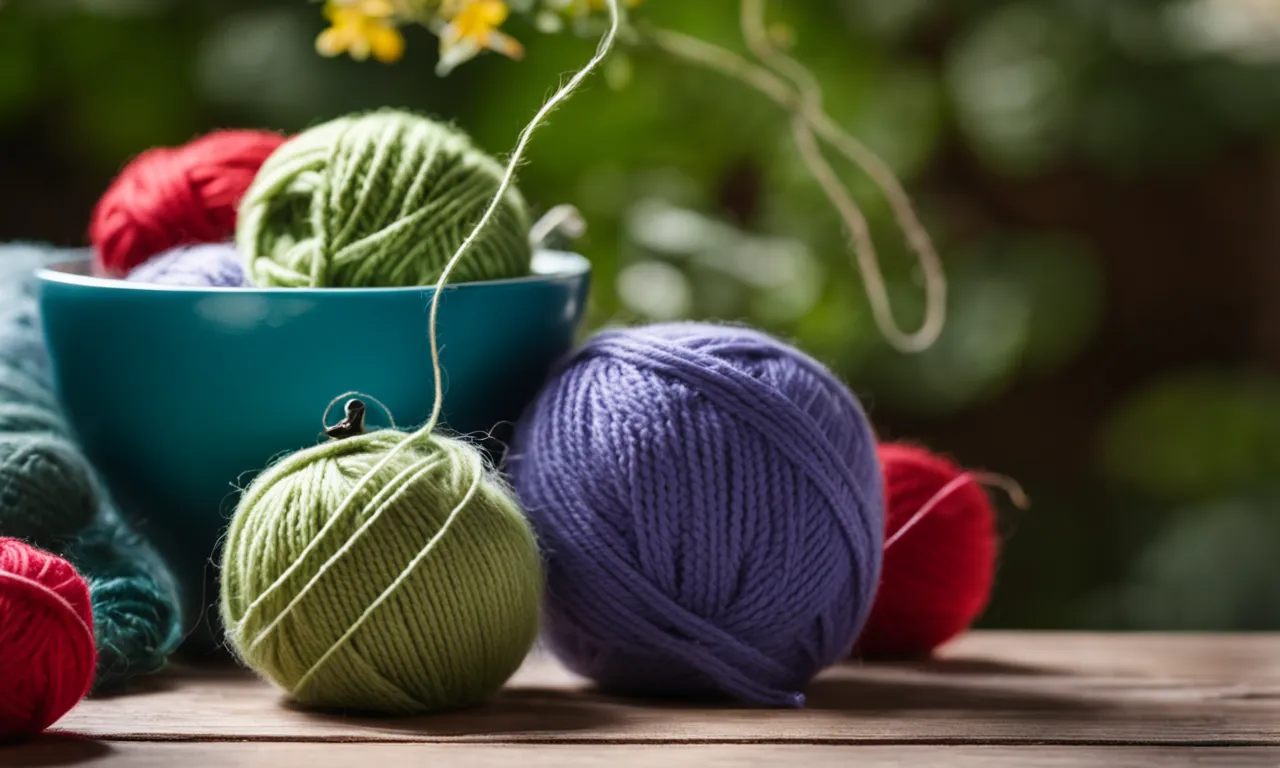
How To Wind A Yarn Ball: A Step-By-Step Guide
If you’re an avid knitter or crocheter, you know how important it is to have neatly wound yarn balls. Working from a tangled yarn hank or skein can be frustrating and make your project take longer. Luckily, winding yarn into a ball is easy to do at home with just a few supplies.
If you’re short on time, here’s a quick answer to your question: To wind a yarn ball, you’ll need a yarn winder or the backs of two chairs. Secure the yarn end, then wrap the length of yarn around the winder or chair backs to form a ball. Go back and forth, keeping the wraps tight and even.
Secure the end when done.
In this comprehensive guide, we’ll go over everything you need to know to wind neat, compact yarn balls that make your knitting and crocheting projects go smoothly. You’ll learn the basic supplies you need, how to set up your winding station, tips for even winding, and how to finish and secure the yarn when done.
Choosing Your Yarn Winder
Yarn winders
If you’re an avid knitter or crocheter, you know how important it is to have well-wound yarn balls. A yarn winder is a handy tool that can help you achieve this. There are several types of yarn winders available in the market, each with its own advantages and disadvantages.
Some popular options include hand-operated yarn winders, electric yarn winders, and tabletop yarn winders.
Hand-operated yarn winders: These are the most common type of yarn winders and are perfect for those who enjoy the process of winding yarn by hand. They are typically compact and portable, making them easy to use and store.
Hand-operated yarn winders come in various sizes and can accommodate different yarn weights.
Electric yarn winders: If you have large quantities of yarn to wind or find winding by hand tedious, an electric yarn winder may be the perfect choice for you. These winders are powered by electricity and can wind yarn quickly and efficiently.
They are often more expensive than hand-operated winders but can save you a significant amount of time and effort.
Tabletop yarn winders: Tabletop yarn winders are larger and more heavy-duty than hand-operated winders. They are designed to be placed on a table or countertop and can handle larger skeins of yarn. These winders often come with additional features such as built-in yarn tensioners and adjustable yarn guides, allowing for more precise winding.
Using chair backs
If you don’t have a yarn winder or prefer a more DIY approach, you can wind your yarn using chair backs. This method is simple and effective, especially for smaller skeins of yarn.
To wind your yarn using chair backs, start by finding two sturdy chairs positioned back to back. Tie the end of your yarn to one chair and then wrap the yarn around the chairs, creating a figure-eight pattern. Continue wrapping until all the yarn is wound around the chairs.
Carefully slide the wound yarn off the chairs, and you’ll have a neatly wound yarn ball.
Winding by hand
If you prefer a more traditional method or don’t have access to a yarn winder or chairs, you can wind your yarn by hand. While this method may take more time and effort, it can be quite satisfying and therapeutic.
To wind your yarn by hand, start by finding the end of your yarn and creating a loose loop with your fingers. Hold onto the loop with one hand and use your other hand to wrap the yarn around the loop in a circular motion. Continue wrapping until all the yarn is wound into a ball.
Make sure to keep the tension consistent to avoid a loose or unevenly wound ball.
Remember, the key to winding a yarn ball is to maintain a consistent tension throughout the process. This will ensure that your yarn ball is tight and compact, making it easier to work with when knitting or crocheting. Happy winding!
Setting Up Your Winding Station
Before you start winding your yarn ball, it is important to set up a proper winding station. This will ensure that the process goes smoothly and without any hiccups. Here are some steps to follow when setting up your winding station:
Preparing your yarn
The first step in setting up your winding station is to prepare your yarn. Make sure that your yarn is untangled and free from any knots or snags. You can do this by gently pulling the yarn from the center of the skein or ball, allowing it to unwind naturally.
If you encounter any tangles or knots, take the time to carefully untangle them before proceeding.
Anchoring the yarn end
Once your yarn is ready, it’s important to anchor the yarn end to prevent it from unraveling while you wind the ball. You can do this by either tying a loose knot at the end of the yarn or by using a yarn butterfly.
To create a yarn butterfly, fold a small length of yarn in half and twist it to form a loop. Slide the loop over the yarn end and tighten it to secure the end in place.
Positioning your winder or chairs
Now that your yarn is prepared and anchored, you’ll need to position your winder or chairs. If you have a yarn winder, place it on a sturdy surface that is comfortable for you to work on. Make sure that the winder is securely fastened so that it doesn’t move while you are winding.
If you don’t have a yarn winder, you can use the back of two chairs placed a few feet apart. Tie the yarn end to one chair and wind the yarn around the chairs as you go.
Setting up your winding station properly will make the process of winding a yarn ball much easier and more enjoyable. Take the time to prepare your yarn, anchor the yarn end, and position your winder or chairs. With the right setup, you’ll be ready to start winding your yarn ball in no time!
Winding the Yarn
Winding from the inside out
When winding a yarn ball, it is important to start from the inside of the skein. This ensures that the outer layers of the ball do not become tangled or unraveled while you work with the yarn. To begin, locate the end of the yarn that is tucked into the center of the skein.
Carefully pull it out and secure it to the winding tool, whether it’s a yarn winder or your hand. Keep in mind that some yarns may have a label indicating which end to start from, so make sure to check before winding.
Keeping even tension
While winding the yarn, maintaining even tension is crucial to create a neatly wound ball. Uneven tension can lead to a lumpy or misshapen ball, which may cause difficulties when working with the yarn later on. As you wind, try to apply gentle but consistent pressure to the yarn so that it is wound tightly and evenly.
It might be helpful to hold the yarn between your fingers as you wind to ensure a steady tension. Practice and experience will help you develop a feel for the right amount of tension to apply.
Troubleshooting uneven winding
If you notice that your yarn ball is not winding evenly, there are a few things you can try to troubleshoot the issue. First, check your tension and make adjustments as needed. Next, consider slowing down the winding process and paying closer attention to the yarn as it is being wound. Sometimes, a slight tug or pull on the yarn can help distribute it more evenly.
Additionally, if you are using a yarn winder, make sure it is properly aligned and functioning correctly. If all else fails, you can always rewind the yarn ball to start fresh.
When to stop winding
Knowing when to stop winding the yarn ball is essential to avoid any unnecessary waste or frustration. As a general rule of thumb, stop winding when the ball reaches a size that feels comfortable in your hand.
Remember that smaller balls are easier to work with and can prevent tangling or knotting while you knit or crochet. If you are unsure about the size, you can compare it to the original skein to get an idea of how much yarn is left.Keep in mind that some yarns may come in larger skeins, so you may need to wind multiple balls depending on your project.
Finishing and Securing the Ball
After winding a yarn ball, it is important to properly finish and secure it to prevent the yarn from unraveling and becoming tangled. Here are some steps to help you finish and secure your yarn ball:
Anchoring the end
Start by finding the loose end of the yarn that you used to wind the ball. Take this loose end and wrap it around the ball a few times, creating a small loop. Then, pass the loose end through the loop and pull it tight. This will anchor the end of the yarn and prevent it from coming undone.
Trimming excess yarn
Next, inspect the yarn ball for any excess yarn that may be sticking out. Use a pair of sharp scissors to carefully trim any excess yarn, making sure to leave a small tail to prevent the yarn from unraveling. Be careful not to cut the yarn too short, as it may come undone.
Banding if needed
If you find that your yarn ball is particularly loose or if you want to ensure extra security, you can consider using a band or tie to hold the yarn in place. You can use a rubber band, a piece of string, or even a hair tie to create a loop around the yarn ball.
Make sure the band is snug but not too tight, as it may damage the yarn.
Remember, properly finishing and securing your yarn ball will not only prevent tangles but also make it easier for you to use the yarn in your future projects. So take a few extra moments to follow these steps, and you’ll have a securely wound yarn ball ready for your next knitting or crochet project!
Conclusion
With the right supplies and techniques, you can easily wind neat, compact yarn balls for your knitting and crocheting projects. Evenly wound yarn helps prevent frustrating tangles and knots as you work.
Just be sure to anchor both ends securely, maintain even tension as you wind, and don’t overfill the ball.
Winding yarn by hand takes some practice, but is a useful skill for any yarn crafter. Knowing how to control tension and get evenly wound balls will make all your projects go smoother. Your finished pieces will have more even stitches and drape beautifully. Happy winding!