What Is Facing In Sewing? A Comprehensive Guide
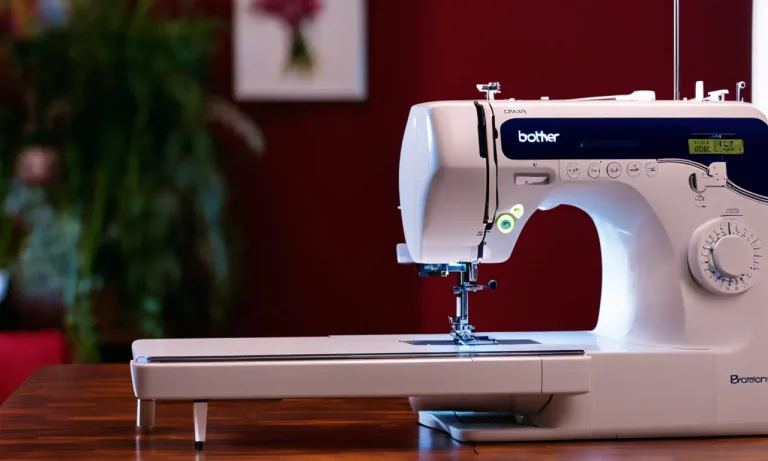
Sewing can seem daunting to beginners, with all the different techniques and terminologies involved. One term that often causes confusion is ‘facing’ – but it’s actually a simple technique once you understand it.
If you’re short on time, here’s a quick answer to your question: Facing refers to an extra piece of fabric that is sewn to the inside of a garment, along the edge that will be visible from the outside. It helps encase the raw edge for a clean finish.
In this comprehensive guide, we’ll cover everything you need to know about facing – from what it is, why it’s used, the different types of facing, how to sew facing, and facing alternatives. With clear explanations and handy visuals, you’ll gain a solid understanding of this essential sewing skill in no time.
What is Facing in Sewing?
Facing in sewing refers to a technique used to finish raw edges and create a clean and professional look on garments. It involves creating a separate piece of fabric that is sewn to the edges of a garment’s opening or neckline, providing structure and support while concealing the raw edges.
Facings are typically cut from the same fabric as the garment and can be visible or hidden, depending on the design.
Definition and Purpose of Facing
The purpose of facing is to give a polished and finished appearance to a garment by neatly enclosing raw edges. It helps to provide stability and structure to areas such as necklines, armholes, and waistlines. Facings can also be used to add decorative elements or contrast to a garment.
For example, a contrasting fabric facing can create a pop of color when the garment is worn. Additionally, facings can be used to reinforce closures, such as buttons or zippers, by providing extra support and preventing the fabric from stretching or distorting.
When is Facing Used?
Facing is commonly used in a variety of garments, including dresses, blouses, jackets, and skirts. It is particularly useful in garments with open or curved edges that cannot be finished with a simple hem.
For instance, a V-neckline or a sleeveless dress with armholes would benefit from a facing to maintain its shape and prevent fraying. Facing can also be used to create a clean edge on garments with intricate designs or patterns, ensuring that the fabric’s print is not interrupted by visible seams or raw edges.
Moreover, facings are often utilized in formal wear, where a polished and refined finish is essential. They are also commonly found in tailored garments, where precision and attention to detail are crucial.
By using facings, seamstresses and tailors can achieve a professional-looking finish that elevates the overall quality of the garment.
For more information and tutorials on sewing techniques, you can visit reputable websites such as Seamwork and Closet Core Patterns.
Types of Facing
When it comes to sewing, facing is an essential technique that helps give a clean and professional finish to garments. There are several types of facing that can be used, each serving a different purpose and offering unique design options.
Standard Facing
The standard facing is the most commonly used type of facing in sewing. It involves cutting a separate piece of fabric that is attached to the garment’s neckline, armholes, or other edges. The facing is then turned to the inside of the garment and stitched in place, creating a neat and finished edge.
This type of facing is great for adding stability and structure to the garment.
Partial Facing
A partial facing is used when only a portion of the garment’s edge needs to be finished. This can be seen in designs where a portion of the neckline or armhole is left exposed for a more modern and edgy look.
The partial facing is attached to the exposed edge and then turned to the inside, providing a clean finish while still allowing the desired design element to stand out.
Shaped Facing
A shaped facing is used when the edge of the garment has a unique or intricate shape that cannot be easily finished with a standard facing. This type of facing is cut to match the specific shape of the edge and is stitched in place, following the contour of the garment.
Shaped facings are commonly used in garments with curved or angled seams, such as princess seams or asymmetrical designs.
Bias Facing
Bias facing is created by cutting a facing piece on the bias grain of the fabric. This allows the facing to have a bit of stretch, making it ideal for finishing edges that need to accommodate movement or curves.
Bias facings are often used in garments like skirts or dresses to finish the hemline, creating a clean and flexible edge.
Lining Used as Facing
In some cases, a lining fabric can be used as a facing instead of using a separate piece of fabric. This technique is commonly used in garments where the lining fabric matches or complements the main fabric.
The lining is attached to the garment’s edge and turned to the inside, providing a clean and cohesive finish.
Understanding the different types of facing in sewing can open up a world of design possibilities. Whether you’re looking for a traditional finish or want to experiment with unique edge treatments, incorporating facing techniques in your sewing projects can elevate the overall look and quality of your garments.
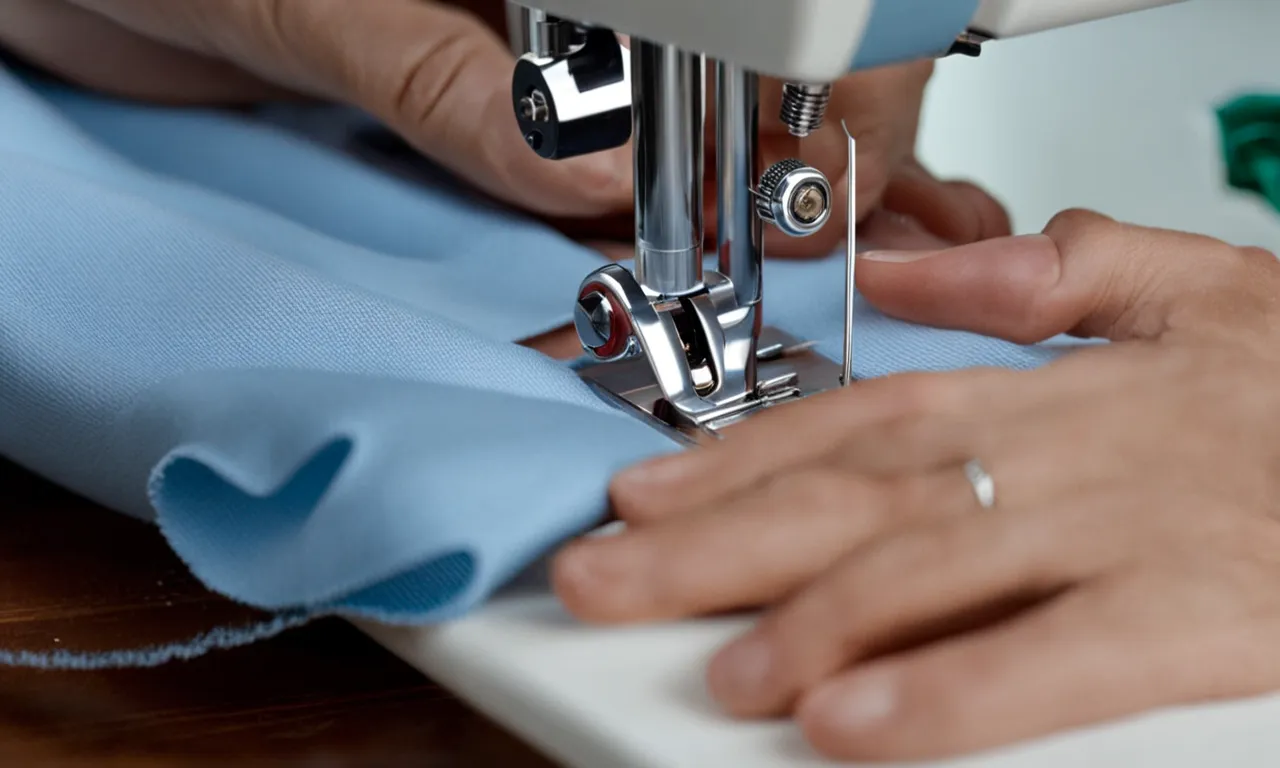
How to Sew Facing
Prepare the Fabric
Before you begin sewing the facing, it is important to prepare the fabric properly. Start by cutting out the facing pieces according to the pattern instructions. Make sure to mark any notches or darts that may be required.
It is also a good idea to interface the facing pieces to give them stability and prevent them from stretching out of shape. Interfacing helps the facing to lay flat against the garment and gives a professional finish.
Attach the Facing
Once you have prepared the fabric, it’s time to attach the facing to the garment. Pin the facing to the garment with right sides together, aligning the edges. You can also use basting stitches to hold them in place temporarily.
Stitch the facing to the garment using a straight stitch, following the seam allowance mentioned in the pattern instructions. Take care to pivot at corners and curves to ensure a neat finish.
Understitch and Press
After attaching the facing, it is important to understitch it to prevent it from rolling to the front. Understitching is done by stitching through the facing and the seam allowance close to the seam line. This helps the facing to stay in place and gives a clean edge.
Once understitching is complete, press the facing and seam allowances towards the facing using an iron. This step helps to set the stitches and gives a crisp finish.
Trim Seam Allowances
To reduce bulk and achieve a smooth finish, it is necessary to trim the seam allowances. Use a pair of sharp scissors to carefully trim the seam allowances, taking care not to cut into the stitches. Trim the allowances to about 1/4 inch or as specified in the pattern instructions.
This step makes it easier to turn the facing to the inside and ensures a clean and professional look.
Turn and Press
After trimming the seam allowances, gently turn the facing to the inside of the garment. Use a pointed object, such as a chopstick or a blunt knitting needle, to push out any corners or curves for a sharp finish.
Once the facing is turned, press it again with an iron to ensure a smooth and wrinkle-free appearance. Take care to press along the edges to make them crisp and well-defined.
By following these steps, you can successfully sew facing onto your garment and achieve a polished and professional look. Remember to always refer to the pattern instructions for specific details and techniques.
Facing Alternatives
While facings are commonly used in sewing to create a clean and finished look on garment edges, there are several alternatives that can achieve similar results. These alternatives offer different techniques and finishes, allowing you to choose the method that best suits your project and personal preference.
Bias Binding
Bias binding is a popular alternative to facings. It involves using strips of fabric cut on the bias, which adds flexibility and allows the binding to curve smoothly around edges. Bias binding can be purchased pre-made or made at home by cutting fabric strips on the bias.
It is then sewn onto the raw edge of the fabric, encasing it and creating a neat and finished look. Bias binding comes in a variety of widths and can be made from matching or contrasting fabric for decorative purposes.
Hong Kong Seams
Hong Kong seams, also known as bound seams, are another alternative to facings. This technique involves encasing the raw edges of the fabric with bias strips. The bias strips are sewn onto the wrong side of the fabric, then folded over to the right side and sewn again, creating a clean and finished edge.
Hong Kong seams are commonly used in garments made from lightweight fabrics or garments that will be seen from both sides, as the finished edge is visible on the inside of the garment.
Serged or Zig-Zag Finished Seams
An easy and quick alternative to facings is to finish the raw edges of the fabric with a serger or a zig-zag stitch. This method is particularly useful for garments made from knit fabrics or fabrics that don’t fray easily.
A serger can trim and finish the edges in one step, while a zig-zag stitch can be used to finish the edges individually. This alternative creates a clean and professional look, preventing the fabric from fraying and giving it a polished finish.
When considering alternatives to facings, it is important to choose a technique that suits the fabric and the desired look of your garment. Experimenting with different methods can help you discover new and creative ways to finish your sewing projects.
Conclusion
Facing may seem complicated to learn at first, but with some practice you’ll find it’s an easy way to cleanly finish curved edges and get a professional look. Just take it step-by-step. Once you understand the basics of preparing, sewing, pressing and turning the facing, you’ll be able to apply the technique to all sorts of sewing projects.
With the information in this guide, you now have a solid grasp on what facing is and how to use it effectively. No more confusion over this sewing terminology! Facing doesn’t have to be scary – let the knowledge you’ve gained give you the confidence to master this handy technique.