Why Does My Sewing Machine Keep Jamming?
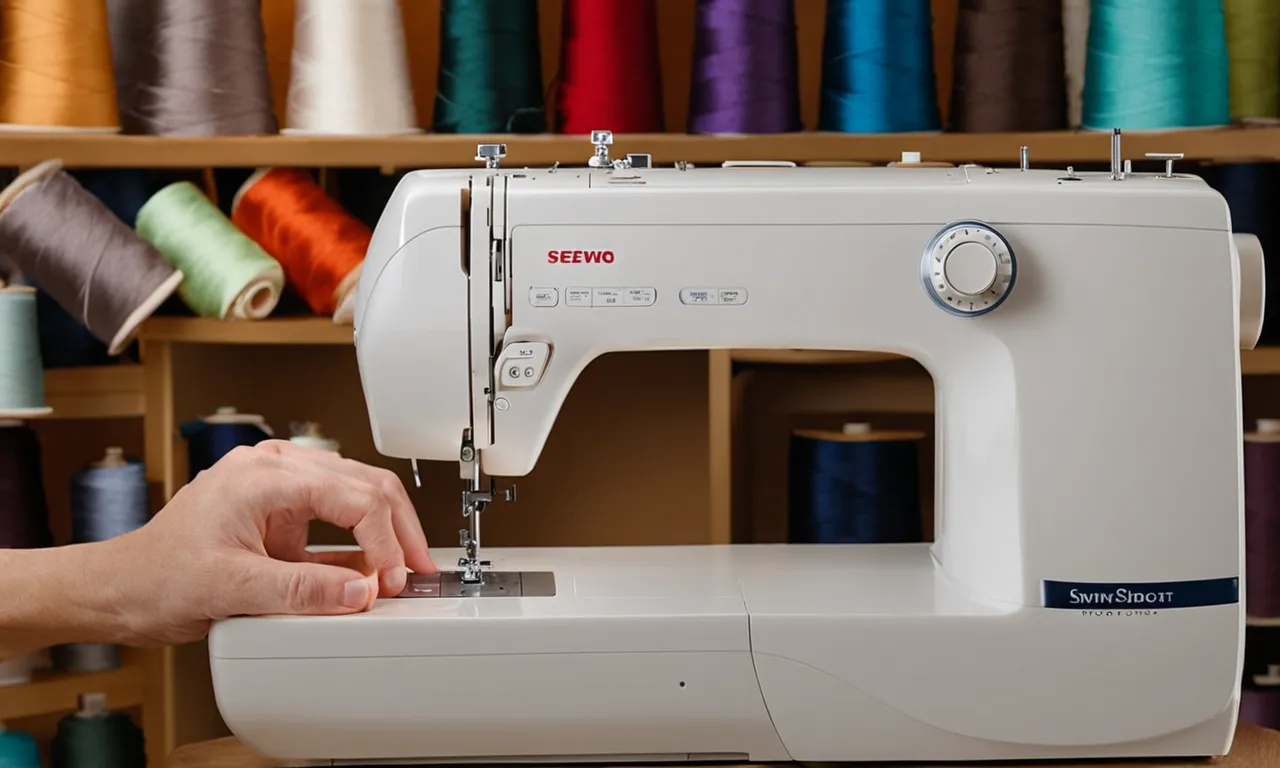
Sewing machines are indispensable tools for sewists and quilters. But nothing is more frustrating than working on a project, only to have your sewing machine suddenly jam up on you! If your sewing machine keeps jamming while you’re trying to sew, don’t panic.
In most cases, there are some simple things you can try to get your machine unstuck and back to working order.
If you’re short on time, here’s a quick answer to your question: improper threading, buildup of lint and thread remnants, issues with tension settings, using improper needles, and hitting pins or thick seams can all cause sewing machines to jam frequently.
In this comprehensive guide, we’ll walk through the most common causes of sewing machine jams and the best ways to troubleshoot and fix them. With the right diagnosis and a few simple maintenance steps, you can get your sewing machine running smoothly again.
Check Threading and Tension Settings
One of the most common reasons why a sewing machine keeps jamming is due to incorrect threading or tension settings. When the machine is not threaded properly, it can cause the thread to tangle and get stuck, leading to a jam.
Similarly, incorrect tension settings can also result in thread jams as the thread may not be balanced properly.
Re-thread the machine
If your sewing machine keeps jamming, the first step is to re-thread it. Start by removing the thread completely and then carefully follow the threading instructions provided by the manufacturer. Make sure to thread the machine with the presser foot raised, as this allows the tension disks to properly engage with the thread.
Once the machine is threaded correctly, test it out to see if the jamming issue has been resolved.
Inspect tension settings
In addition to threading, checking the tension settings is crucial for avoiding thread jams. Each sewing project may require different tension settings, so it’s important to adjust them accordingly. Start by setting the tension dial to the recommended setting for the fabric you’re working with.
If the machine continues to jam, try adjusting the tension slightly higher or lower until the issue is resolved. It’s also a good idea to clean the tension disks periodically, as lint and debris can accumulate and affect the tension balance.
Change the needle
Another factor that can contribute to sewing machine jams is a dull or damaged needle. A needle that is bent, worn out, or incorrectly inserted can cause the thread to break or get stuck, resulting in a jam.
It’s recommended to change the needle regularly, especially if you’ve been working on a project for an extended period. Use the appropriate needle size and type for the fabric you’re sewing, and make sure it is inserted correctly according to the machine’s instructions.
By checking the threading and tension settings, as well as changing the needle when necessary, you can significantly reduce the chances of your sewing machine jamming. Remember to always consult your machine’s manual for specific instructions and troubleshooting tips. Happy sewing!
Clean Lint and Thread Buildup
One of the main reasons why a sewing machine may keep jamming is due to the buildup of lint and thread in various areas of the machine. This can impede the smooth movement of the fabric and cause the machine to malfunction.
To prevent this issue, it is important to regularly clean the sewing machine and remove any accumulated lint and thread.
Clean around feed dogs
The feed dogs are the small metal teeth located beneath the needle plate that help move the fabric through the machine. Over time, lint and thread can get trapped around the feed dogs, causing them to become clogged and affecting their ability to grip the fabric properly.
To clean around the feed dogs, use a small brush or a pair of tweezers to gently remove any lint or thread that may be stuck.
Remove lint from bobbin area
The bobbin area is another common place where lint and thread buildup can occur. This can cause the bobbin to jam and prevent the thread from flowing smoothly. To clean the bobbin area, remove the bobbin case and use a small brush or compressed air to remove any lint or debris.
Be careful not to force anything or use sharp objects that could damage the machine.
Use compressed air
Using compressed air can be an effective method to remove stubborn lint and thread buildup from hard-to-reach areas of the sewing machine. Ensure that you follow the manufacturer’s instructions and use a can of compressed air specifically designed for sewing machines.
Hold the can upright and direct short bursts of air into the areas where lint and thread tend to accumulate. This will help dislodge any trapped debris and keep your machine running smoothly.
Regularly cleaning the sewing machine and removing lint and thread buildup is essential for its proper functioning. By following these steps and maintaining a clean machine, you can minimize the chances of your sewing machine jamming and enjoy uninterrupted sewing sessions.
Avoid Hitting Pins and Thick Seams
One common reason why a sewing machine may keep jamming is because it is hitting pins or going over thick seams. This can cause the needle to get stuck or the thread to get tangled, resulting in a jammed machine. To avoid this issue, there are a few steps you can take.
Remove pins and clips
Before sewing, make sure to remove any pins or clips that are holding your fabric together. Sewing over pins can cause them to get bent or broken, leading to potential machine jams. By taking the time to remove these obstacles, you can prevent unnecessary disruptions to your sewing process.
Use an appropriate presser foot
Another way to avoid hitting pins and thick seams is to use the appropriate presser foot for your project. Different presser feet are designed for specific purposes, such as sewing over zippers or quilting.
By using the correct presser foot, you can ensure that your machine glides smoothly over the fabric without encountering any obstacles that could cause a jam.
Go slowly over bulky areas
If you’re working with thick fabrics or sewing over multiple layers, it’s important to go slowly over these bulky areas. Sewing too quickly can put strain on your machine and increase the likelihood of a jam.
By taking your time and allowing the machine to properly stitch through the layers, you can avoid any potential issues.
For more information on sewing machine troubleshooting and tips, you can visit www.sewmyplace.com. This website offers a variety of resources to help you maintain and troubleshoot your sewing machine so that you can enjoy uninterrupted sewing sessions.
Replace Damaged or Worn Parts
If your sewing machine keeps jamming, one of the reasons could be damaged or worn-out parts. Over time, the components of a sewing machine can become worn or damaged, leading to issues such as jamming. Here are some parts you should examine and potentially replace:
Examine needle plate
The needle plate, also known as the throat plate, is the metal plate that sits underneath the needle. It has small holes through which the needle passes to create stitches. If the needle plate is damaged or has burrs, it can cause the fabric to get caught and result in a jam.
Inspect the plate for any signs of damage, such as scratches or rough edges. If you notice any issues, consider replacing the needle plate.
Inspect feed dogs
The feed dogs are the metal teeth that move the fabric through the machine as you sew. If the feed dogs are worn down or damaged, they may not be able to grip the fabric properly, causing it to bunch up and jam. Check the feed dogs for any signs of wear or damage.
If they appear worn or are not moving smoothly, it may be time to replace them.
Check bobbin hook and race
The bobbin hook and race are essential components that work together to form stitches underneath the fabric. If the hook or the race is damaged or misaligned, it can lead to thread jams. Carefully inspect the bobbin area for any signs of damage or misalignment.
If you notice any issues, it’s recommended to replace the bobbin hook or race.
Replace presser foot
The presser foot is the part of the sewing machine that holds the fabric in place as you sew. If the presser foot is damaged or not aligned correctly, it can cause the fabric to get stuck and result in a jam. Check the presser foot for any signs of wear or misalignment.
If necessary, replace the presser foot to ensure smooth sewing without any jams.
Remember, if you are unsure about replacing any parts yourself, it’s always a good idea to consult the sewing machine’s manual or seek professional assistance. Keeping your sewing machine in good working condition by replacing damaged or worn parts can help prevent jams and ensure a smoother sewing experience.
Have Sewing Machine Serviced
If your sewing machine keeps jamming, it may be time to have it serviced. Regular maintenance is crucial to keep your machine running smoothly and prevent issues like jamming. Here are a few reasons why having your sewing machine serviced is important:
Clean and lubricate moving parts
Over time, dust, lint, and thread fibers can accumulate in the moving parts of your sewing machine. This buildup can cause the machine to jam. By having your machine serviced, a professional can clean and lubricate the moving parts, ensuring smooth operation.
Regular cleaning and lubrication also extend the lifespan of your machine.
Adjust timing
One common cause of sewing machine jamming is improper timing. The timing refers to the synchronization of the needle and the bobbin mechanism. If the timing is off, the needle may hit the bobbin case or hook, leading to jams.
A professional technician can adjust the timing of your machine to ensure precise stitching and prevent jams.
Replace worn gears or mechanisms
Worn gears or mechanisms can also contribute to sewing machine jams. Over time, the constant use of the machine can cause parts to wear down or become damaged. A skilled technician can identify and replace any worn gears or mechanisms, restoring the smooth operation of your machine.
Remember, regular servicing is essential to keep your sewing machine in top condition. It’s recommended to have your machine serviced at least once a year or more frequently if you use it extensively. By taking proactive steps to maintain your sewing machine, you can avoid frustrating jams and ensure that your sewing projects go smoothly.
Conclusion
While sewing machine jams can be extremely aggravating, in most cases they can be easily resolved with basic troubleshooting and maintenance. Start by thoroughly re-threading the machine, cleaning lint buildup, and examining parts for damage. Avoid hitting pins and sewing over thick seams.
For internal issues, have the machine serviced and oiled by a professional.
With consistent care and cleaning, your sewing machine should run smoothly for years to come. A well-maintained machine will lead to enjoyable sewing and quilting experiences without the frustration of a jam.

