
How To Sew Lace Onto Fabric: A Step-By-Step Guide
Sewing lace onto fabric can elevate any garment or project by adding a delicate, feminine touch. Whether you’re making wedding dresses, heirloom baby clothes, lingerie or just want to jazz up an old t-shirt, lace is a great way to make it special.
If you’re short on time, here’s a quick answer to your question: To sew lace onto fabric, pin the lace to the fabric with the right sides together, then sew along the edge using a zigzag stitch or straight stitch close to the edge.
Trim the excess seam allowance close to the stitching line so the lace lies flat.
Choose the Right Fabrics
When it comes to sewing lace onto fabric, choosing the right fabrics is essential for a successful outcome. The type and weight of both the lace and the base fabric play a crucial role in determining the overall look and feel of the finished piece.
Lace Type and Weight
There are various types of lace available, each with its own unique characteristics. Some popular lace types include Chantilly lace, Alençon lace, and Guipure lace. Consider the style and design of your project when selecting the lace type.
For delicate and intricate designs, Chantilly lace with its fine details would be a great choice. For a more textured and bold look, Guipure lace might be the perfect option. It’s important to consider the weight of the lace as well.
Lighter weight lace works well for garments that require a soft and flowing drape, while heavier lace adds structure and volume.
Base Fabric Type and Weight
The base fabric is the foundation onto which the lace will be sewn. The choice of base fabric depends on the desired effect and the functionality of the final product. If you’re looking for a romantic and ethereal look, consider using lightweight fabrics such as chiffon or organza.
For a more structured and tailored look, fabrics like satin or silk are excellent choices. The weight of the base fabric should also be considered. Lighter weight fabrics are easier to handle and sew, while heavier fabrics provide more stability and structure.
When selecting your fabrics, it’s important to consider the compatibility between the lace and the base fabric. The two fabrics should complement each other in terms of weight, texture, and overall aesthetic.
Take the time to experiment with different combinations to find the perfect match for your project.
Cut and Prepare the Lace and Fabric
Before you begin sewing lace onto fabric, it’s important to properly cut and prepare both the lace and fabric. This will ensure that your final result looks neat and professional.
Wash and Press the Lace and Fabric
Start by washing the lace and fabric to remove any dirt or chemicals that may be present. This is especially important if you are working with vintage lace or fabric. Follow the washing instructions on the fabric label and use a mild detergent.
After washing, gently press the lace and fabric with an iron to remove any wrinkles. This will make it easier to work with and will ensure a smooth finish.
Cut Lace to Size
Next, measure and cut the lace to the desired size for your project. Use fabric scissors to ensure clean and precise cuts. If you are unsure about the size, it’s always better to cut a larger piece and trim it down later. This will give you more flexibility during the sewing process.
Finish Fabric Edges
To prevent fraying, it’s important to finish the edges of your fabric. There are several ways to do this, depending on the type of fabric you are working with. One common method is to use a serger or overlock machine to create a finished edge. Another option is to use a zigzag stitch or a narrow hem.
If you prefer a more decorative finish, you can also consider using bias tape or lace trim to enclose the raw edges.
By properly cutting and preparing the lace and fabric, you will set yourself up for success when it comes to sewing them together. Taking the time to wash, press, cut, and finish the edges will ensure a professional-looking result that you can be proud of.
Pin and Baste the Lace to the Fabric
One of the first steps in sewing lace onto fabric is to properly pin and baste the lace to the fabric. This ensures that the lace stays in place and doesn’t shift during the sewing process. To pin the lace, start by laying it flat on the fabric and aligning the edges.
Then, use small sewing pins to secure the lace to the fabric. Make sure to place the pins within the seam allowance to avoid any visible marks on the finished garment.
Basting the lace to the fabric is an additional step that can provide extra stability. Basting is essentially sewing a temporary stitch to hold the lace and fabric together. This can be done by hand or with a sewing machine. Basting stitches should be long and easy to remove later.
They can be placed along the edges of the lace or in the center, depending on the desired outcome.
Tips for Pinning and Basting Lace:
- Use fine pins that won’t damage the lace or fabric.
- Pin the lace at regular intervals to ensure even distribution.
- Check for any wrinkles or puckering in the fabric before moving on to the next step.
- When basting, use a contrasting thread color to make it easier to remove later.
By pinning and basting the lace to the fabric, you are setting yourself up for success in the rest of the sewing process. This initial step ensures that the lace stays in place and allows for precise and accurate stitching.
So take your time, be patient, and enjoy the process of creating something beautiful!
Sew the Lace to the Fabric
When it comes to sewing lace onto fabric, there are a few important steps to follow to ensure a successful outcome. Whether you’re adding lace to a garment or using it for a decorative touch, these tips will help you achieve a professional-looking result.
Choose the Right Stitch
Choosing the right stitch is crucial when sewing lace onto fabric. A straight stitch or a zigzag stitch can both work well, depending on the look you’re trying to achieve. A straight stitch creates a clean and precise line, while a zigzag stitch allows for more flexibility and stretch.
Experiment with different stitches on scrap fabric to see which one works best for your project.
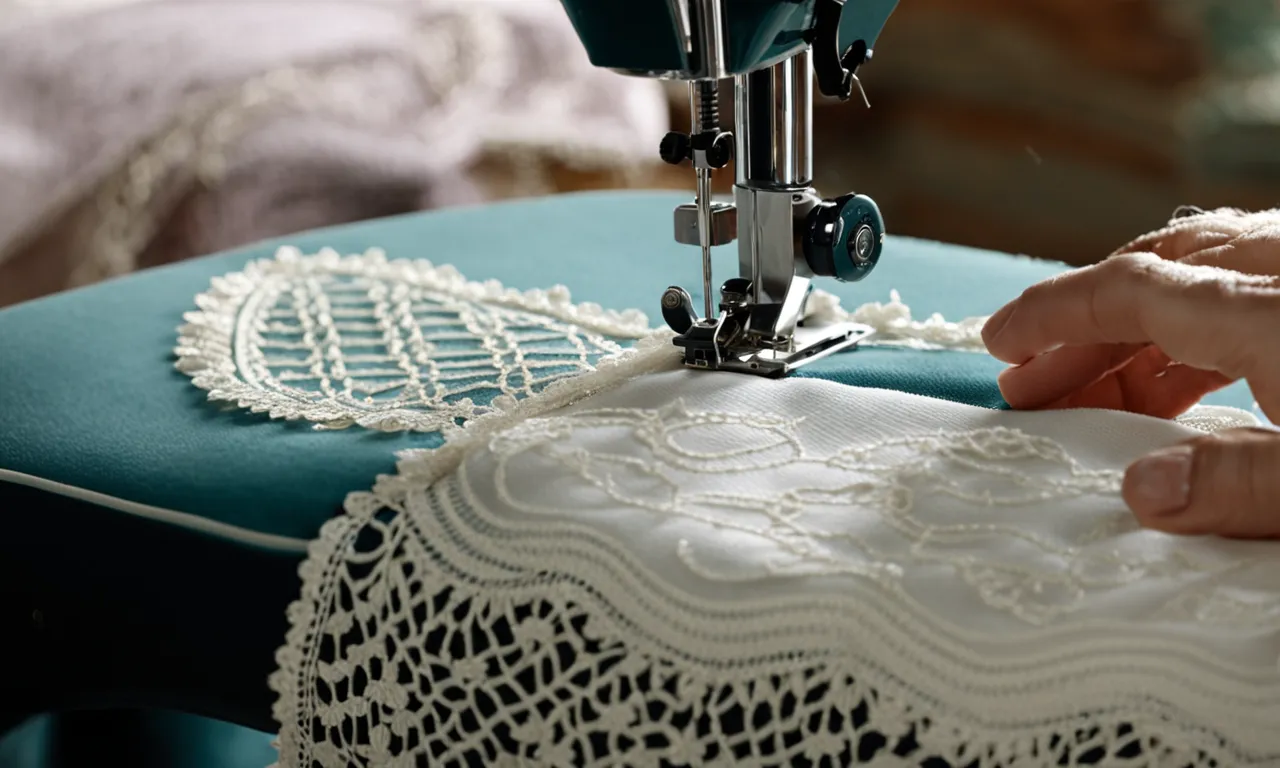
Sew with the Right Side Facing
When sewing lace onto fabric, it’s important to sew with the right side facing up. This allows you to see the lace pattern and ensure that it’s aligned correctly. Place the lace on top of the fabric, aligning the edges, and pin it in place.
Sew along the edge of the lace, making sure to catch both the fabric and the lace with your stitches. Remove the pins as you go to avoid any accidents.
Trim Seam Allowances
After sewing the lace onto the fabric, it’s a good idea to trim the seam allowances. This helps to reduce bulk and create a neater finish. Carefully trim the excess fabric close to the stitching, being careful not to cut into the stitches or the lace.
This step is especially important if you’re adding lace to a garment, as it will help the lace lay flat against the fabric and prevent any fraying.
Remember, practice makes perfect when it comes to sewing lace onto fabric. Take your time, be patient, and don’t be afraid to make mistakes. With a little practice, you’ll be able to create beautiful garments and accessories that showcase your sewing skills.
Finish the Lace Edges
When sewing lace onto fabric, it’s important to finish the edges of the lace to prevent fraying and ensure a clean and professional look. There are two main methods you can use to finish the lace edges: clean finishing and adding decorative edging.
Clean Finish Lace Edges
To clean finish the lace edges, follow these steps:
- Trim any loose threads or excess lace from the edges.
- Fold the edges of the lace inward, towards the wrong side of the fabric.
- Secure the folded edges with pins or fabric glue to hold them in place.
- Using a sewing machine or a needle and thread, stitch along the folded edges to secure them.
This method creates a neat and tidy finish that prevents the lace from unraveling over time. It’s a great option for delicate lace fabrics or when you want a more minimalist look.
Add Decorative Edging
If you want to add some extra flair to your lace, consider adding a decorative edging. This can be done using various techniques, such as:
- Scalloped edge: Create a scalloped edge by carefully cutting small curves along the lace edges. This adds a feminine and delicate touch to your fabric.
- Picot edge: Sew a small, decorative zigzag stitch along the lace edges to create a picot edge. This adds a playful and whimsical look to your fabric.
- Ruffled edge: Gather the lace fabric slightly and sew it onto the fabric, creating a ruffled effect. This adds volume and texture to your design.
Remember to experiment and have fun with different techniques to find the one that best suits your project. Adding a decorative edging can give your lace a unique and personalized touch, making it truly one-of-a-kind.
For more detailed instructions and visual examples, you can visit www.sewguide.com. They provide step-by-step guides and helpful tips on sewing lace onto fabric.
Conclusion
With the right fabrics, tools and techniques, sewing lace onto fabric is an easy way to make any project look luxurious. By carefully pinning, stitching and trimming the lace, you can get clean, professional-looking results.
So grab some lace and try jazzing up your next sewing project – the options are limitless!