
How To Thread A Singer Simple Sewing Machine
If you’ve just purchased a Singer Simple sewing machine or inherited your grandmother’s trusty model, you may be puzzled about how to get started. Threading a sewing machine can seem daunting, with all those knobs, levers, and holes.
Don’t worry – with a little guidance, you’ll have your Singer Simple threaded and ready for stitching in no time.
If you’re short on time, here’s a quick answer to your question: Line up the presser foot lever, raise the take-up lever to its highest position, and follow the threading guides from the spool pin through the take-up lever and needle.
Prepare the Machine
Before threading your Singer Simple Sewing Machine, it’s important to properly prepare the machine. This will ensure that the threading process goes smoothly and without any issues.
Make sure it’s powered off
First and foremost, make sure that your sewing machine is turned off and unplugged. This will prevent any accidents or injuries while you’re threading the machine. Safety should always be a top priority!
Raise the presser foot
Next, raise the presser foot of your sewing machine. This is the part of the machine that holds the fabric in place while you’re sewing. By raising the presser foot, you’ll have better access to the threading mechanism and it will be easier to thread the machine.
Raise the take-up lever
Another important step in preparing the machine is to raise the take-up lever. The take-up lever is the metal arm that moves up and down as you sew. By raising it to its highest position, you’ll ensure that the thread will pass through it properly during the threading process.
By following these steps to prepare your Singer Simple Sewing Machine, you’ll be ready to thread the machine and start sewing in no time!
Thread the Top
Threading the top of your Singer Simple Sewing Machine is an essential step to ensure smooth and successful sewing. Here are the four steps to thread the top:
1. Place spool on pin
Begin by placing the spool of thread on the designated pin located at the top of your sewing machine. Make sure the spool is securely in place to prevent it from falling off during sewing.
2. Draw thread through top guide
Next, locate the top guide on your sewing machine and draw the thread through it. The top guide helps to guide the thread smoothly through the machine and prevents it from tangling or getting caught.
3. Wrap thread around tension discs
After passing the thread through the top guide, you need to wrap it around the tension discs. The tension discs control the tightness of the thread, ensuring that it is properly balanced while sewing. Make sure to follow the threading path indicated in your sewing machine’s manual for accurate tension adjustment.
4. Thread the take-up lever
The final step in threading the top is to thread the take-up lever. The take-up lever is responsible for pulling the thread through the fabric and creating the stitches. Follow the threading path indicated in your sewing machine’s manual to ensure the thread is properly threaded through the take-up lever.
Once you have completed threading the top of your Singer Simple Sewing Machine, make sure to perform a test stitch to ensure that the thread is properly tensioned and the machine is functioning correctly. Remember, proper threading is crucial for achieving professional-looking and durable stitches.
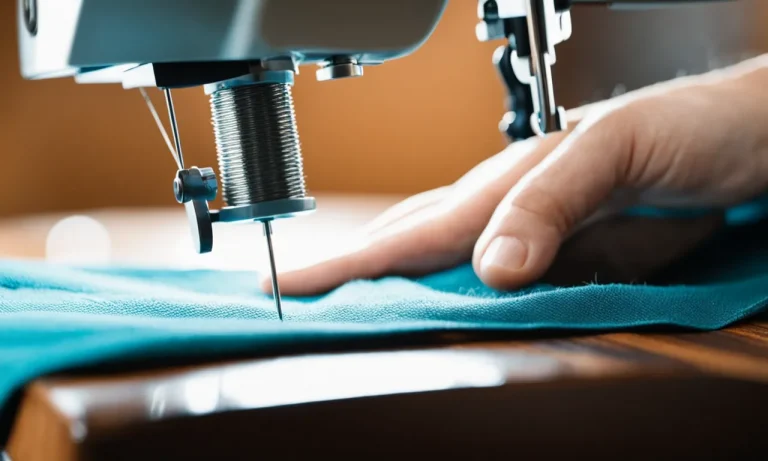
Thread the Needle
Pull thread down to needle
Once you have your Singer Simple sewing machine set up and ready to go, it’s time to thread the needle. First, locate the thread spool holder on your machine and place a spool of thread onto it. Make sure the spool spins freely and that the thread is coming off the spool in the right direction.
Next, bring the thread down to the needle. Look for the thread guide, which is usually a small metal or plastic hook located at the top of the machine. Wrap the thread around the thread guide, making sure it is securely in place.
Some machines may have more than one thread guide, so be sure to follow the specific instructions for your Singer Simple model.
From the thread guide, continue to guide the thread down towards the needle. Look for the tension disks, which are usually two metal discs that the thread needs to pass through. Thread the thread between these disks, making sure it is securely in place.
This step is important for maintaining proper tension while sewing.
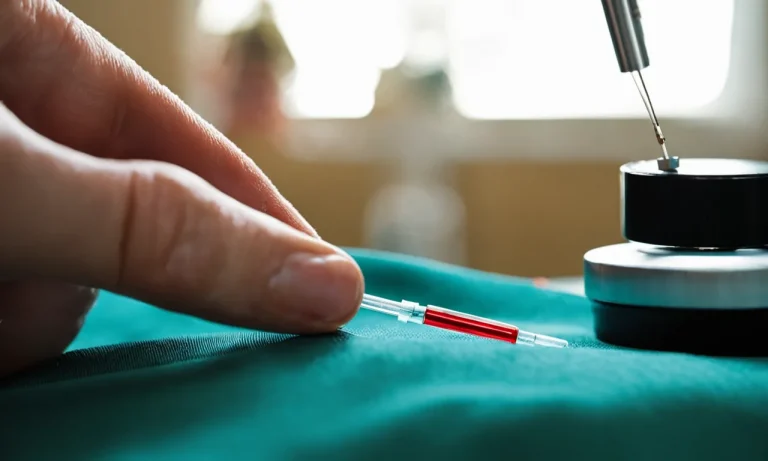
Thread through needle eye
Now that the thread is in position, it’s time to thread it through the needle eye. Take the free end of the thread and thread it through the small hole at the front of the needle, called the eye. This can be a bit tricky, especially if you have limited visibility or dexterity.
One tip to make this step easier is to wet the tip of the thread with a bit of saliva or use a needle threader. The moisture or the threader will help stiffen the thread and make it easier to guide through the eye of the needle.
Once the thread is through the needle eye, leave a tail of thread hanging down towards the back of the machine.
Now that you have successfully threaded the needle, you are ready to start sewing with your Singer Simple sewing machine. Remember to always refer to your machine’s manual for specific instructions and troubleshooting tips.
Conclusion
Threading your Singer Simple sewing machine doesn’t have to be complicated. Just remember to start with the presser foot up, take-up lever high, and follow the guides. With a few tries, you’ll get the hang of it. Soon you’ll be stitching away on fun sewing projects in no time!